Creating Custom Linux Instances from ISO
Video Guide
Document Guide
Step 1:
-
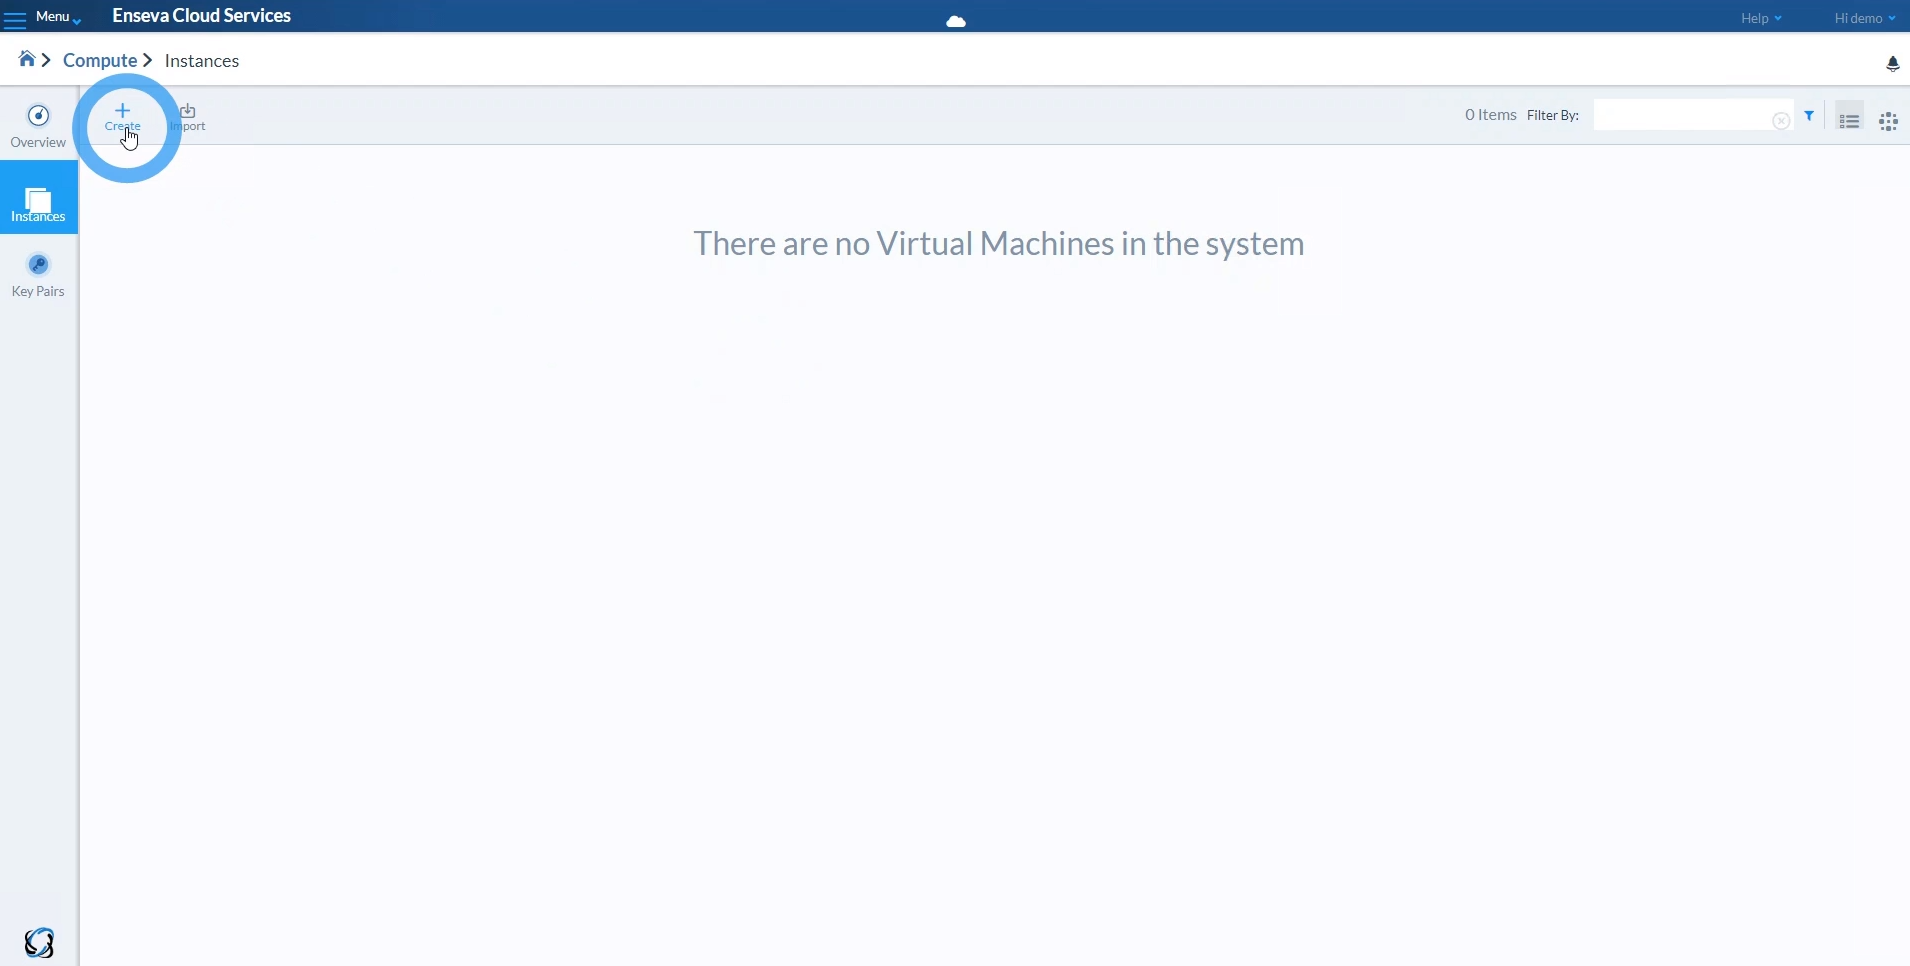
Navigate to Compute > Instances and click the create button.
-
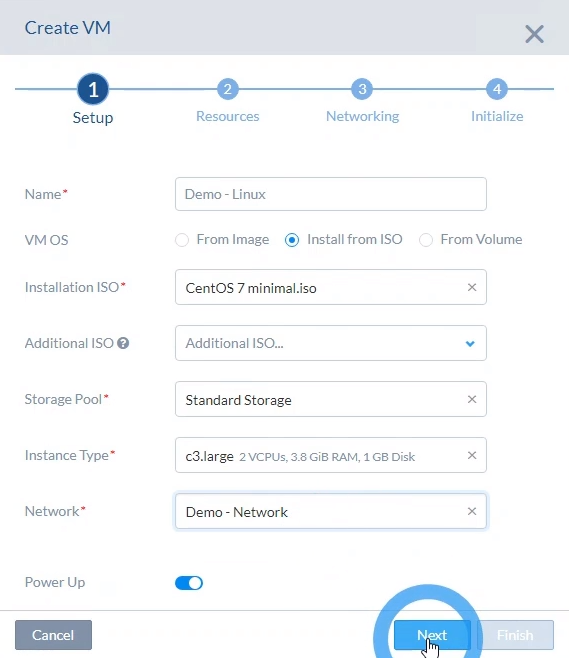
Name the instance.
-
From the radio buttons, select ‘Install from ISO’
-
From the “Installation ISO’ dropdown menu, select a Linux distribution. This tutorial selected centOS 7 minimal.
-
Select the Storage Pool, instance type and network for this instance and click next.
-
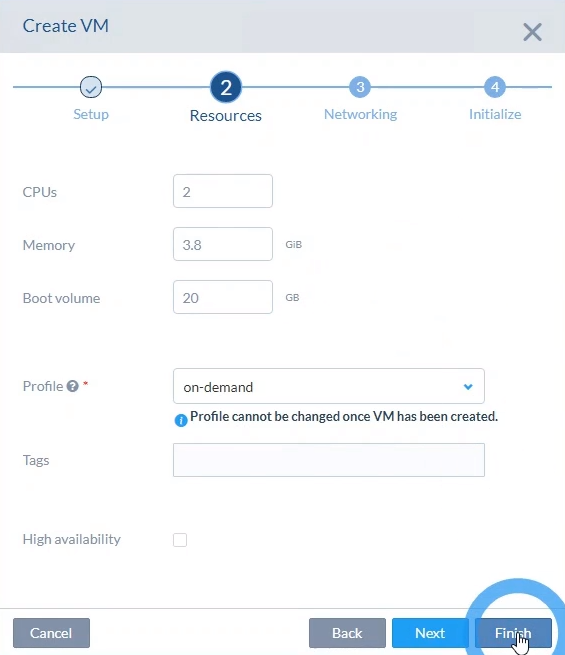
The defaults can work, but change the boot volume size to something reasonable.
-
Clicking finish will Spin up this instance.
-
Connect to the instance by clicking on the instance and then clicking the select button.
-
Walk through the installer normally. Enseva Cloud Services will handle DHCP for this instance.
-
Upon logging in for the first time:
-
Yum upgrade or,
-
Sudo apt-get update && sudo apt-get dist-upgrade
-
Last modified: Wednesday, 30 May 2018, 8:59 AM